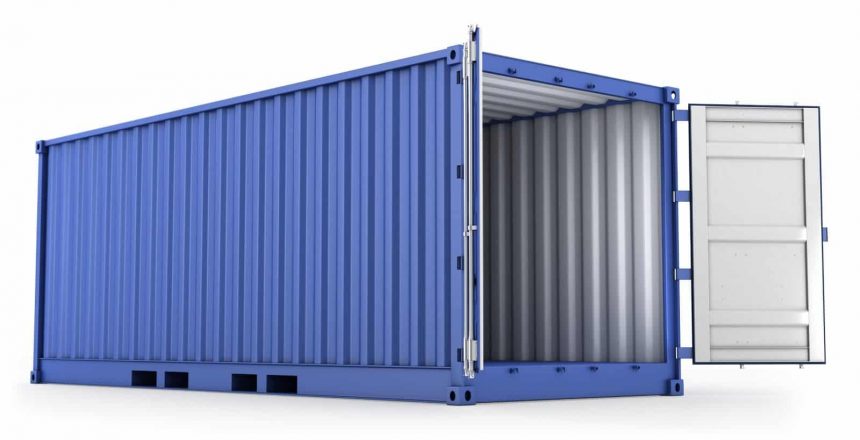
Shipping containers are now in use as working spaces, storage buildings, and living areas or homes. However, you first need to know how to finish the inside of a shipping container to make it functional because the steel walls do not provide enough protection from the harsh elements. The inside of a shipping container that’s not protected can be unbearably cold during winter and extremely hot in the summer. So, whether you’re customizing a shipping container to use as a working, living, or storage space, discover how you can finish your shipping container to keep its interior dry, cozy, comfortable, and quiet.
1. Plan Your Shipping Container Project
Before you begin working on the inside of your container, you first need to plan.
First, you’ll determine the shipping container’s inside dimensions and then decide where to install interior partitions, electrical outlets, and plumbing fixtures. Next, create a detailed drawing of your project plan, which includes the exact locations and measurements of the interior of your shipping container. You can then use the sketch to create individual plan drawings of each interior feature, which will help you next.
2. Create Your Shipping Container Layout Plans
After planning your project, create your layout plans for each area inside your shipping container. For example, if you’re planning on installing cabinets or shelving units in a specific space, make an accurate, detailed technical drawing of the area. Your layout plan should include the size and shape of each feature, as well as its exact position inside your shipping container.
3. Use Protective Sheeting
While you work on the inside of a shipping container, it’s essential that you protect it from moisture damage caused by any exterior weather conditions. If you’re planning to turn a shipping container into a studio, workshop, garage, or storage area, use a heavy-duty vapor barrier to protect the steel floor. You can also make individual pieces of sheeting for your project by covering your shipping container with plastic sheeting and securing it in place with nails or staples.
4. Strategize Windows and Doors
It’s also essential to install exterior doors and windows before embarking on the interior. First, you will need to cut out your preferred dimensions of the windows and doors. A heavy-duty angle-grinder will provide you with enough power to cut through the robust and thick container. If you’re not a welder, you can find an expert to help you with this part. Once done, install doors and windows that conform to your cut-out dimensions.
5. Choose Shipping Container Insulation
The temperature of the interior of your shipping container can drastically improve by adding insulation. You will need to insulate your ceiling, walls, and floor. The simplest option for insulating the inside of a shipping container is the use of spray foams. Other insulation options include cotton/denim, insulation panels, cork, or wool.
Read More: Shipping Container Insulation 101
6. Select Container Interior Wall Finishing
After insulating your shipping container, you can choose your wall finishing. Again, there are a variety of materials to choose from, including plywood, FRP (fiberglass reinforced panels), or drywall.
Drywall is the best option for improving insulation and retaining room temperature compared to many other wall finishing alternatives. It’s an energy-efficient and cost-effective option, not forgetting its attractiveness due to its unobscured and clean feeling that gives the wall a ready-to-paint surface.
Plywood is considered stronger than drywall. If you install the plywood, you’ll have to find a stud to nail into. Lastly, you can choose FRP to create a tough, waterproof but washable wall that is easy to clean. This option will provide you with superior flexibility for a durable and scratch-resistant inner finish. After choosing your preferred wall finishing, you can apply wall coverings of your choice, such as wallpaper, or you can opt to paint your walls.
7. Decide on Interior Container Flooring
Because a container’s wood flooring is frequently tainted with pesticides and chemicals intended to endure life on the high seas, you may need to replace it. Your options include carpet, linoleum, cork flooring, or plywood. If you’re planning to increase the insulation of your shipping container, use plywood. Cork is suitable for adding warmth to a room, and linoleum can provide a long-lasting option that’s resilient against the forces of nature.
Lay the flooring coverings and create cut-outs to accommodate plumbing fixtures such as floor drains, toilets, and kitchen sinks. Also, install flooring in areas adjacent to exterior doors and windows to protect the door frame.
8. Get Creative with Your Container’s Interior
You’ll want to enhance your living or working space by being creative with your shipping container interior design. For instance, you can add interior decor of your choice to make the interior comfortable and cozy. You can also incorporate storage ideas to create more space.
For instance, use old drawers to create storage units. Additionally, repurpose the inner shell of the shipping container as part of your interior design. You can also add shelving or storage units. This will increase the interior space of your container, especially if it’s designed specifically for commercial use.
Finally, paint and decorate the walls to complete your home or office interior. Colorful exterior paint is also a good option for making your shipping container stand out.
Now You Know How to Finish the Inside of a Shipping Container
Finishing the interior of your shipping container is what turns it from a simple container into a beautiful home or workspace. Learning how to finish the inside of a shipping container will allow you to modify your shipping container to precisely what you want. For all of your Oklahoma shipping container queries and needs, contact Twisted S Containers today!
Read More: Container Home Tips: 6 Things to Know Before Building with Shipping Containers


